
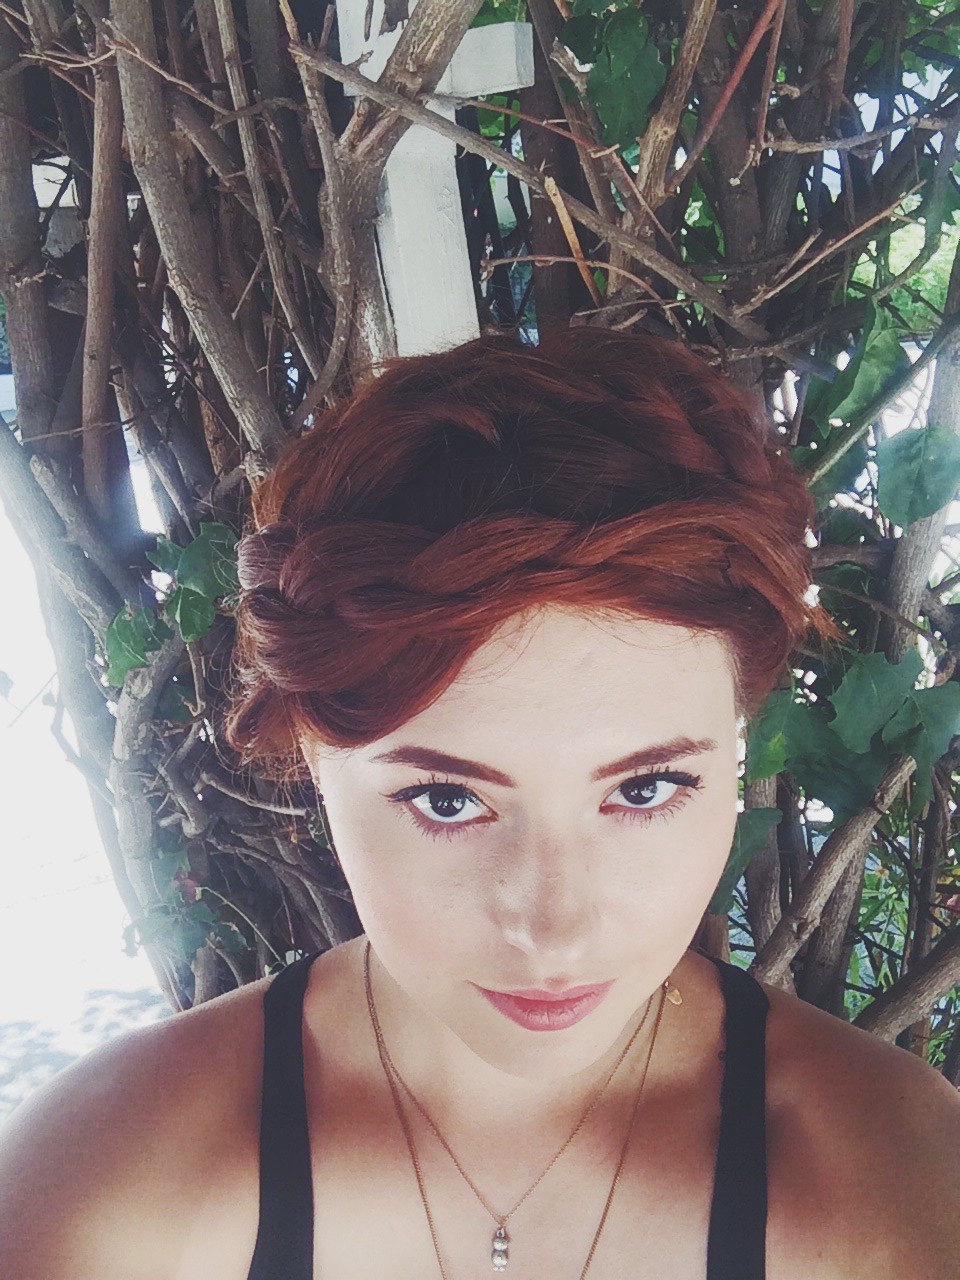
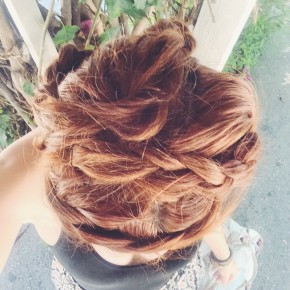
I love love love this fairy princess hairstyle!! I feel like I live in Ferngully every time I do it!! It’s a wonderful look for fall and it only takes about 5 minutes to accomplish!!!


Here’s how to do it:
1) Part you hair down the middle.
2) Divide into four sections. Two sections on the bottom, and two on the top.
3) Go ahead and clip the top ones up because you’ll be braiding the bottom ones first.
4) Braid the bottom two sections separately. When I do this, I try to braid up so I don’t create any weird lumps! Also, make sure your braids are not too tight!
5) Put a bobby pin on the end of both bottom sections just to hold the braid together. You’ll be pinning them in place soon.
6) Loosely braid the top two sections of your hair, each going the opposite way. Once you’ve braided, bobby pin them in. To clarify, the ends of the right section of your hair will be pinned on the left side and visa versa. Again, make sure these braids are loose!!! You want to make sure they look somewhat like a crown!
7) Take the bottom braids and pin them to the top of your head. You can put the ends under the crown you’ve already created to hide the bobby pins.
8) Hairspray!!! My current favorite hairspray is Spray It Hard by Rock Your Hair! I love it because it doesn’t make my hair feel stiff!!!
That’s how simple it is!
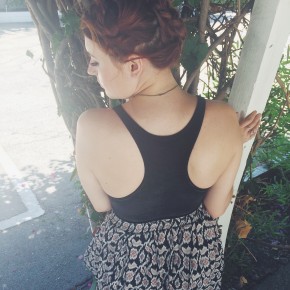
Leotard: American Apparel
Skirt: Brandy Melville
Like this tutorial? Leave a comment below and tell me what hairstyle you want to know how to do next!!! And don’t forget to subscribe!!
xoxo
J